Getting a new smartphone is exciting, but you’ll want to ensure your existing phone number moves seamlessly to your new device. When you’re an existing Verizon customer staying with Verizon, the process of a “verizon transfer number to new phone” is actually part of activating your new device on your current line. Once the new phone is active, your number automatically works on it, and your old phone is deactivated from that line.
Before you start, the most crucial first step is to back up all the important data (contacts, photos, videos, files) from your old phone. You’ll restore this data to your new phone after it’s activated.
Understanding the Activation Process
Activating your new device on your existing Verizon phone line is the key. This action links your phone number and service plan to the new hardware.
- Automatic Transfer: Successfully activating the new phone automatically handles the verizon transfer number to new phone. You don’t need a separate “transfer” step like you would when switching carriers.
- Old Phone Deactivation: Once the new phone connects to the network with your number, the old phone will lose service on that line.
- Two Main Scenarios: The exact steps might vary slightly depending on whether you bought the new phone directly from Verizon or if you’re bringing your own compatible, unlocked device (BYOD).
Read more about: verizon upgrade phone
Activating a Phone Purchased from Verizon
Phones bought directly from Verizon often have a streamlined activation process.
Using the Setup Wizard
- Power On: Turn on your new phone.
- Follow Prompts: The initial on-screen setup wizard will guide you. Connect to a reliable Wi-Fi network when prompted.
- Sign In (If Needed): You might be asked to sign in to your My Verizon account to verify your line.
- Automatic Activation: Often, the phone will attempt to activate automatically during this setup. Follow any specific instructions shown. This may involve confirming your phone number.
- Restart: Once complete, you might need to restart the new phone.
Using My Verizon (App/Website)
If activation doesn’t happen automatically during setup, or if instructed:
- Log In: Access your account via the My Verizon app on another device or the Verizon website.
- Navigate: Find the section for activating or switching devices (often under “Devices,” “Manage Devices,” or a specific “Activate or Switch Device” link).
- Select Line: Choose the phone line you want to activate the new phone on.
- Enter Device Info: You may need to enter the new phone’s Device ID (IMEI). For eSIM devices, this might be IMEI2.
- Follow Steps: Complete the on-screen instructions to confirm and activate.
Activating a “Bring Your Own Device” (BYOD)
If you bought an unlocked phone elsewhere and want to use it on your existing Verizon line:
Check Compatibility and Unlock Status
- Compatibility: Go to Verizon’s BYOD portal online and enter your phone’s IMEI number to confirm it’s compatible with the Verizon network.
- Unlock Status: Crucially, ensure the phone is unlocked from any previous carrier. Contact the original carrier if needed. It can sometimes take up to 24 hours after unlocking before the device can be activated on Verizon.
Get Your SIM Ready (Physical or eSIM)
- Physical SIM: If your BYOD phone uses a physical SIM and doesn’t have a compatible Verizon SIM, you’ll need one. You can order one from Verizon or get one at a store.
- eSIM: If your phone supports eSIM, you can typically activate without needing a physical card.
Activate via My Verizon
- Log In: Access My Verizon (app or website).
- Navigate: Go to the “Activate or Switch Device” or BYOD section.
- Select Line: Choose “Activate on an existing line” and select the line you’re updating.
- Enter Device ID (IMEI): Provide your phone’s IMEI.
- SIM Information: Follow prompts regarding your SIM (enter physical SIM ICCID if prompted, or confirm eSIM activation).
- Confirm: Review the details and complete the activation process.
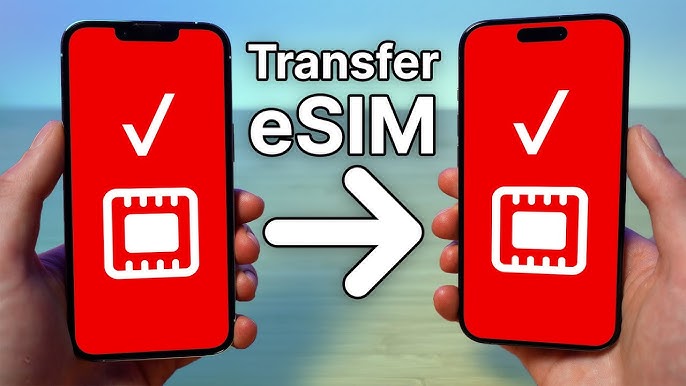
Physical SIM vs. eSIM Activation
How your number transfers depends slightly on the SIM type in your new phone.
Using a Physical SIM Card
- Moving Old SIM (Sometimes Possible): If your old phone’s physical SIM is compatible with the new phone (same size, 4G/5G compatible) and Verizon’s systems allow it for your specific upgrade, you might simply move the SIM card. Power cycle the new phone after inserting the SIM.
- Using a New SIM: Insert the new, unactivated Verizon SIM card into your powered-off phone. Power it on and follow the on-screen activation prompts or use the My Verizon steps, providing the SIM card’s ICCID number when requested.
Using an eSIM
- eSIM is an embedded, digital SIM. Many newer phones use eSIM exclusively or alongside a physical SIM slot.
- Activation involves connecting the new phone to Wi-Fi during setup. Follow the on-screen prompts to download the eSIM profile. You may be asked to scan a QR code (less common now) or sign into My Verizon via the setup screen or app to trigger the download and activation.
Final Steps and Troubleshooting
Transferring Your Content
- Once the new phone is activated and working with your number, transfer your backed-up data (contacts, photos, apps, etc.). Use tools like Apple’s Quick Start, Samsung Smart Switch, Google backups, or the Verizon Content Transfer feature within the My Verizon app.
What if Activation Fails?
- Restart: Turn your new phone off and back on again.
- Wait: Allow several minutes for the network connection to establish.
- Check Connections: Ensure you have a stable Wi-Fi connection (especially for eSIM).
- Verify SIM: Make sure the physical SIM is inserted correctly or that the eSIM download completed.
- Contact Support: If problems persist, call Verizon activation support at (877) 807-4646 or visit a Verizon store for assistance.
Your Number, Your New Phone
Completing the activation steps for your new device is the method for a verizon transfer number to new phone when staying on the same account. By following these guidelines, you can get your new phone up and running with your familiar number quickly and easily.